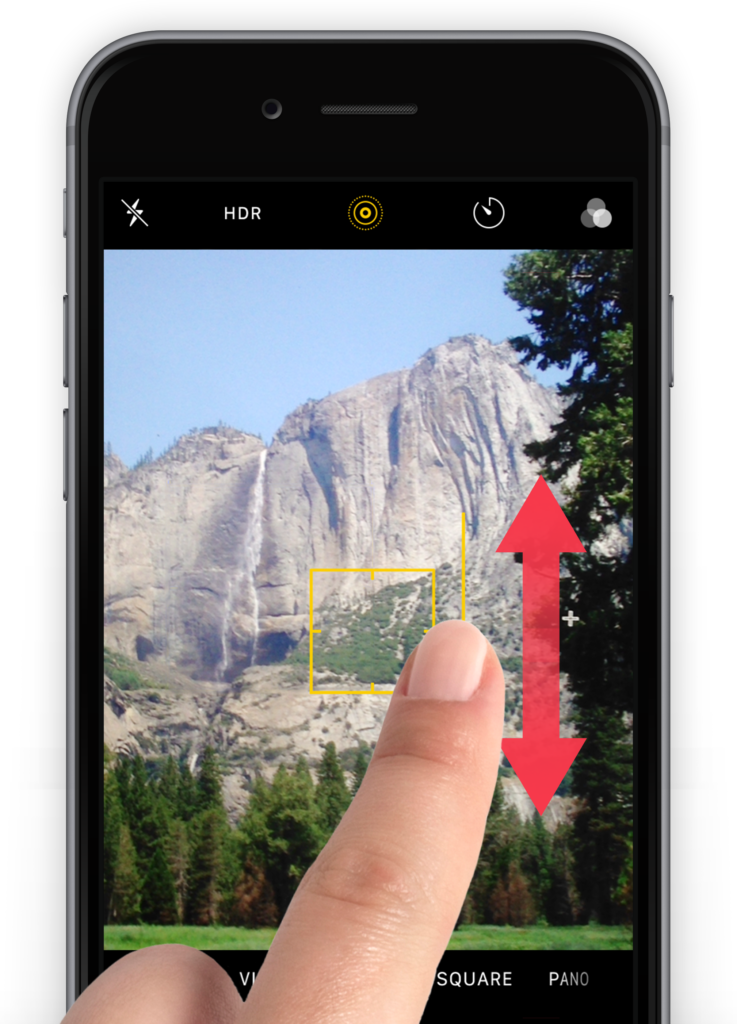
Assignment 2 - Exposure and Silhouette

Smartphone Photography – Just Do It Workshop

Step 1: Exposure

The exposure can also be altered, or locked in place, when focusing. 

This affects the amount of light the camera sensor lets in, to help you get the right balance of brightness and contrast in your image.  

In the default iPhone camera app, you can tap once to focus, then hold and drag to adjust the exposure.

It’s a similar story in the camera app for Android, Tap once for focus, then you can adjust exposure via the slider that pops up at the side or top of the screen.

Step 3: Lock Exposure

To lock the exposure, tap and hold a part of the image for a few seconds.

You’ll now see the message AE/AF Lock across the top. You can now move the camera to another location while the exposure stays the same.

To reset it, just tap the screen again.

Step 4 ACTION: Dark, Light and a Silhouette.  

Neutral, Light, Dark

Take a photo of a subject as you normally would. Now take a photo of the same subject again, but then make 1 photo lighter and the other photo darker with the lighting tools.

Make a silhouette

Photograph each other. Place your ‘model’ in a place with a lot of backlight. Set the focus and exposure (AE/AF) to your subject. To lock the focus and exposure point, simply tap and hold on that part of the screen for a few seconds. 

Make two portraits; Adjust the exposure upwards so that your subject has the correct exposure. You have to be able to see the person well. Make a silhouette of the same image by adjusting the exposure downwards.